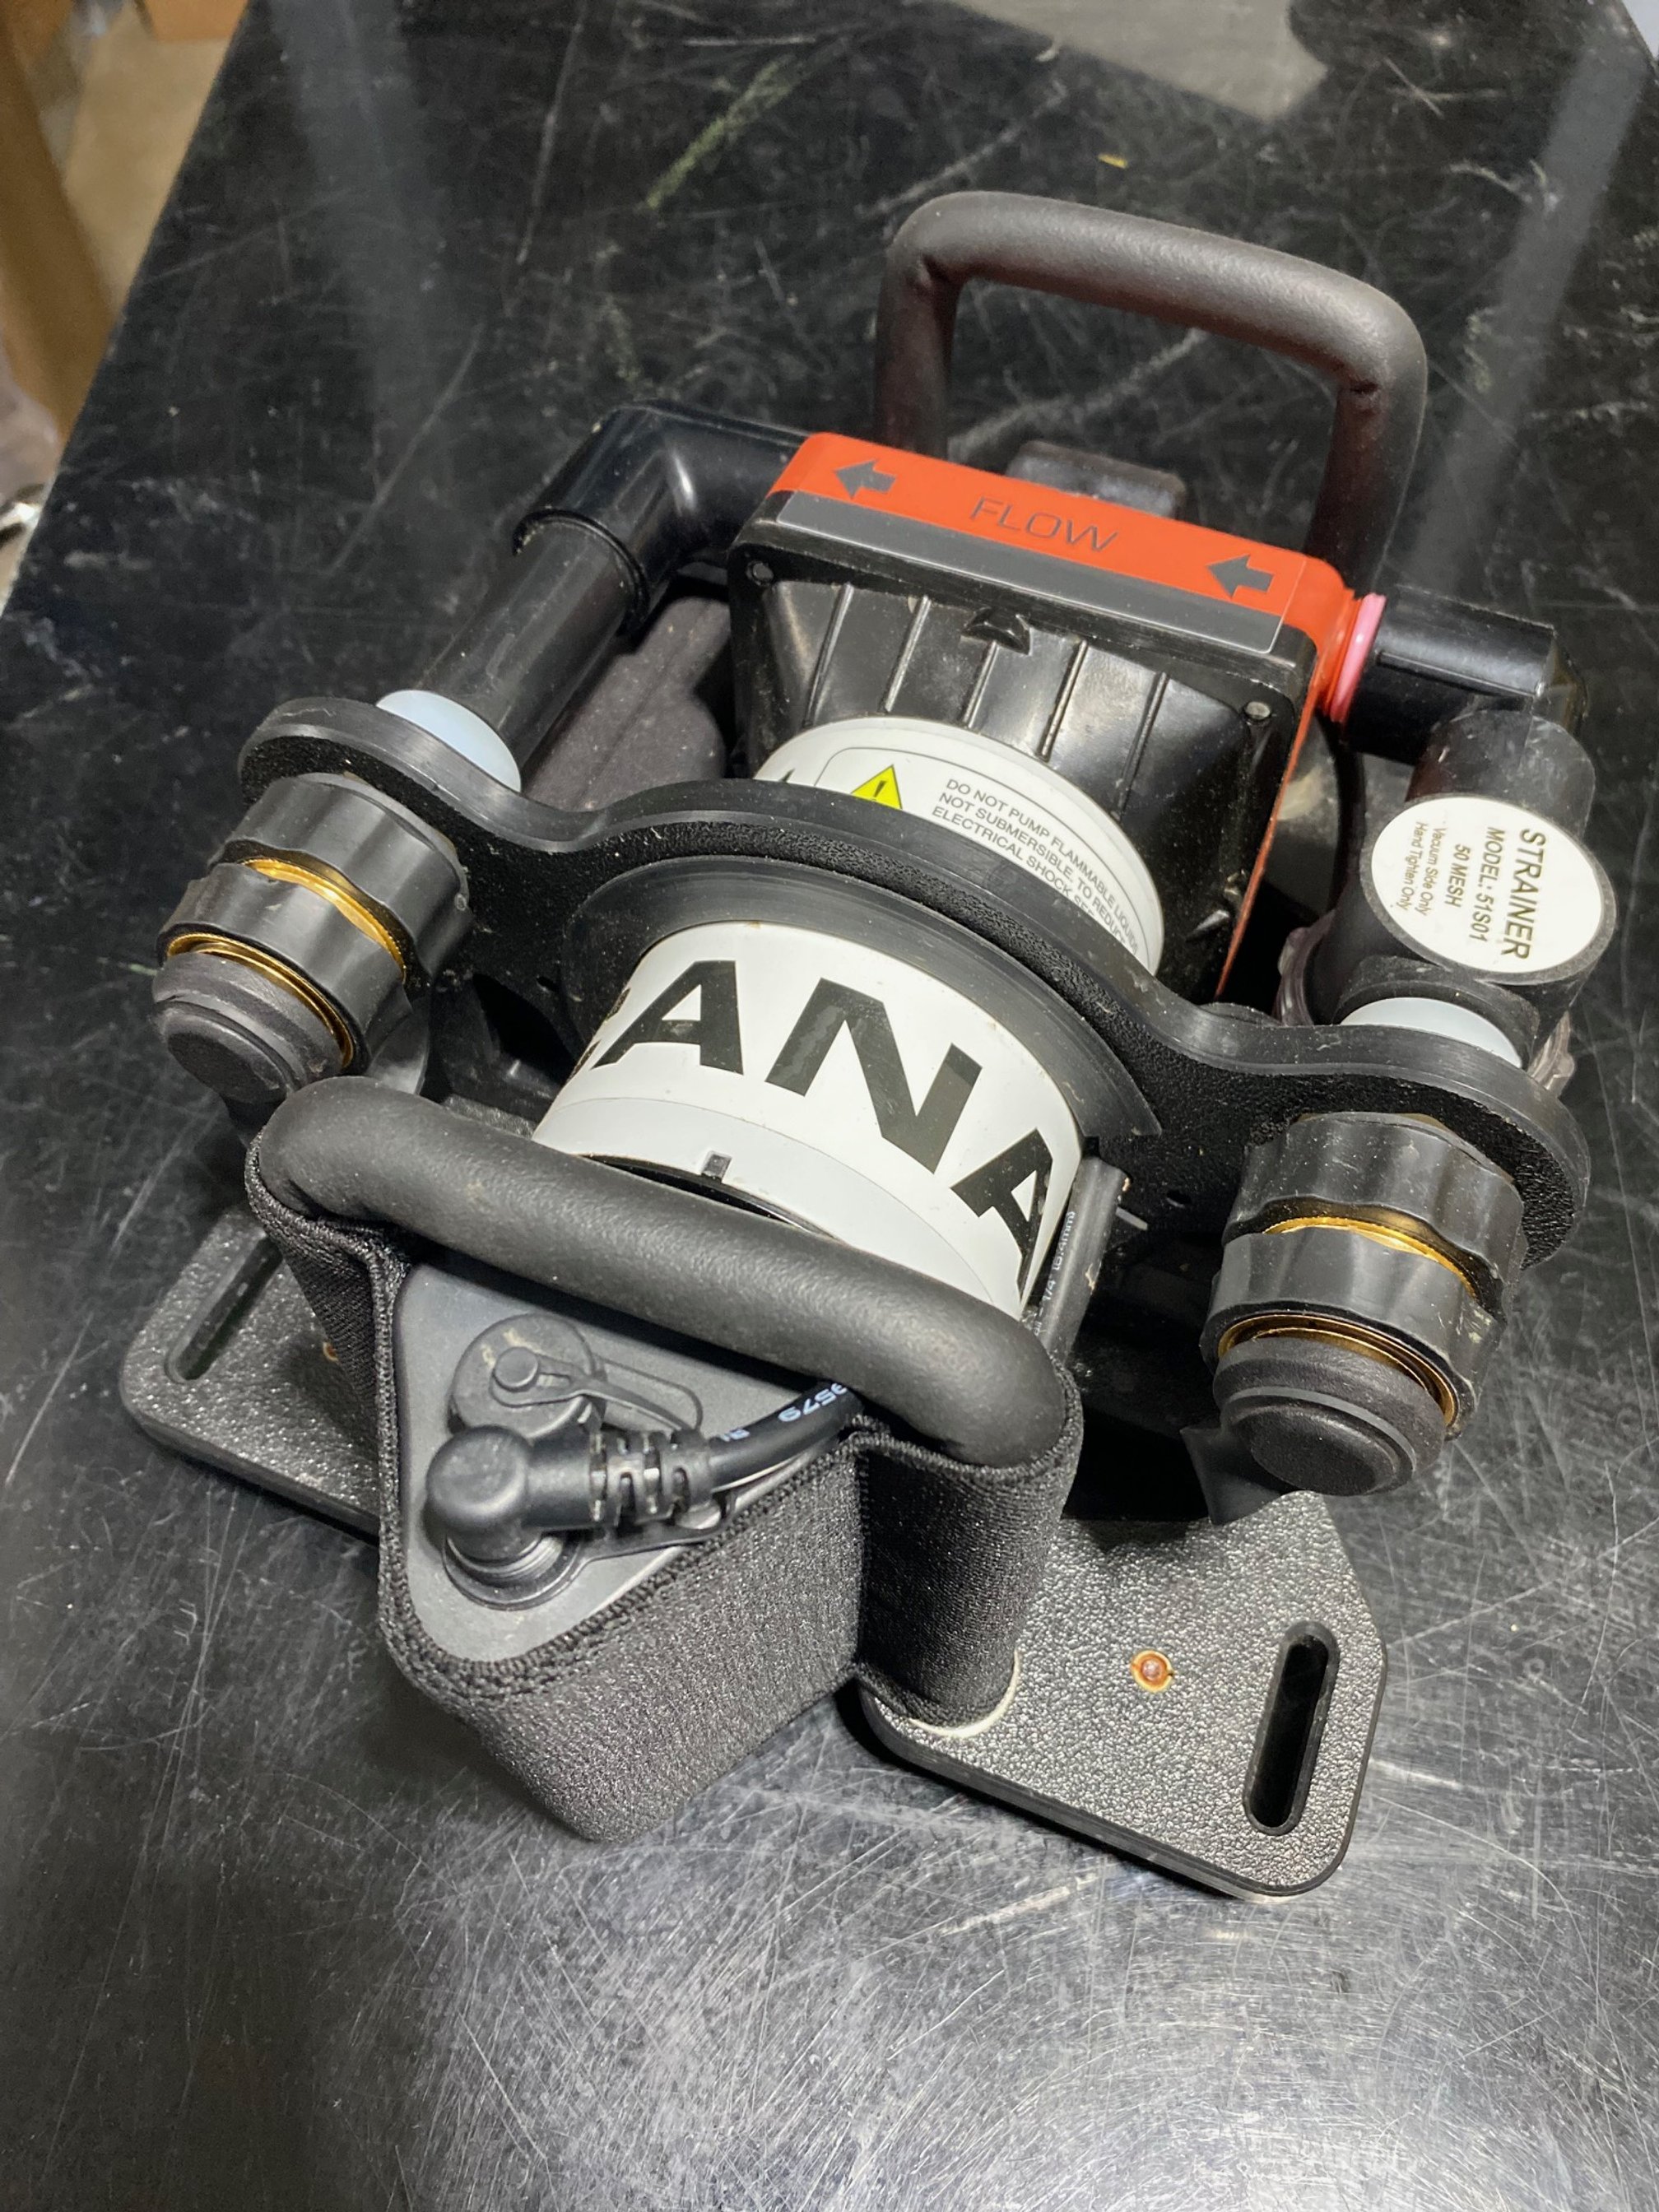
The battery accessory sleeve was designed to be simple and straightforward. Follow the steps below to get it installed on your AR-1.

Here's what you'll need to get your battery accessory sleeve installed: Battery accessory sleeve, a 9/16" or 14mm socket (adjustable wrench or spanner will also work) and an old sticker or piece of card stock cut into two 1" x 4" long segments.

We suggest installing your battery accessory sleeve on the crash bar on the side of the inlet and outlet arms - both sides are usable. Choosing your installation side, release the two (2x) nylok lock washers and washers.

After the bottom set of hardware has been removed, gently rock the crash bar until it releases from the chassis and retain the hardware. There should be: 4x 3/8" washers (2x for the top of the chassis and 2x for the bottom) and 2x 3/8 NyLok lock washers.

Fold your card stock or stickers (with the backing still in place - these help the elastic glide) over one side of the crash bar.

Gently ease one of the small side openings of the elastic onto the side of the crash bar you started the cardstock glide on.

Once it has started, repeat the process on the other side until both have been started as shown above.

Flip the crash bar upside down and gently but firmly press down on the elastic until the sleeve fully seats against the top of the "U" of the crash bar.

Pull the card stock glides DOWNWARD toward the threads, slipping the glide out the bottom of the sleeve. Repeat on both sides.

Battery Accessory Sleeve shown with installation glides removed.

Before reinstalling the hardware, feed your desired accessory cord up through the back side of the accessory sleeve, putting your DC barrel jack on the top of the sleeve. Once complete, install the washers on the top side of the chassis, then reinsert the crash bar through the chassis and replace the bottom side washers and lock washers. Be sure to torque these nuts down.


